MonoGame Extended Particle System: Loading Ember Files
This page is up to date for MonoGame.Extended 5.3.1. If you find outdated information, please open an issue.
Ember files (.ember) are XML-based particle effect files created by the Ember Editor, a visual particle effect editor for MonoGame Extended. These files contain complete particle effect configurations including emitter settings, modifiers, interpolators, and texture references.
This guide explains how to load and use .ember files in your MonoGame projects, covering both the Content Pipeline approach and direct file loading.
Understanding Ember Files
An .ember file contains:
- Particle Effect Properties: Position, rotation, scale, auto-trigger settings
- Emitter Configurations: One or more emitters with their profiles, parameters, and settings
- Modifiers and Interpolators: Behavior definitions for particle animation
- Texture References: Paths to texture files used by emitters
When you load an .ember file, MonoGame Extended deserializes this XML data into a ParticleEffect object that you can use in your game exactly like particle effects created in code.
Loading Methods
There are two ways to load .ember files in your MonoGame project:
- Content Pipeline Method (Recommended): Pre-processes files at build time with automatic dependency tracking
- Direct File Loading: Loads files at runtime for rapid iteration and prototyping
Method 1: Content Pipeline (Recommended)
The Content Pipeline method provides the most robust integration with your game's content management system.
Prerequisites
Before using the Content Pipeline method, you need:
- MonoGame Extended Content Pipeline Extension: The pipeline extension DLL that processes
.emberfiles - Content Pipeline Reference: The extension must be referenced in your Content.mgcb file
See the Setting Up MGCB Editor documentation for detailed information setting this up.
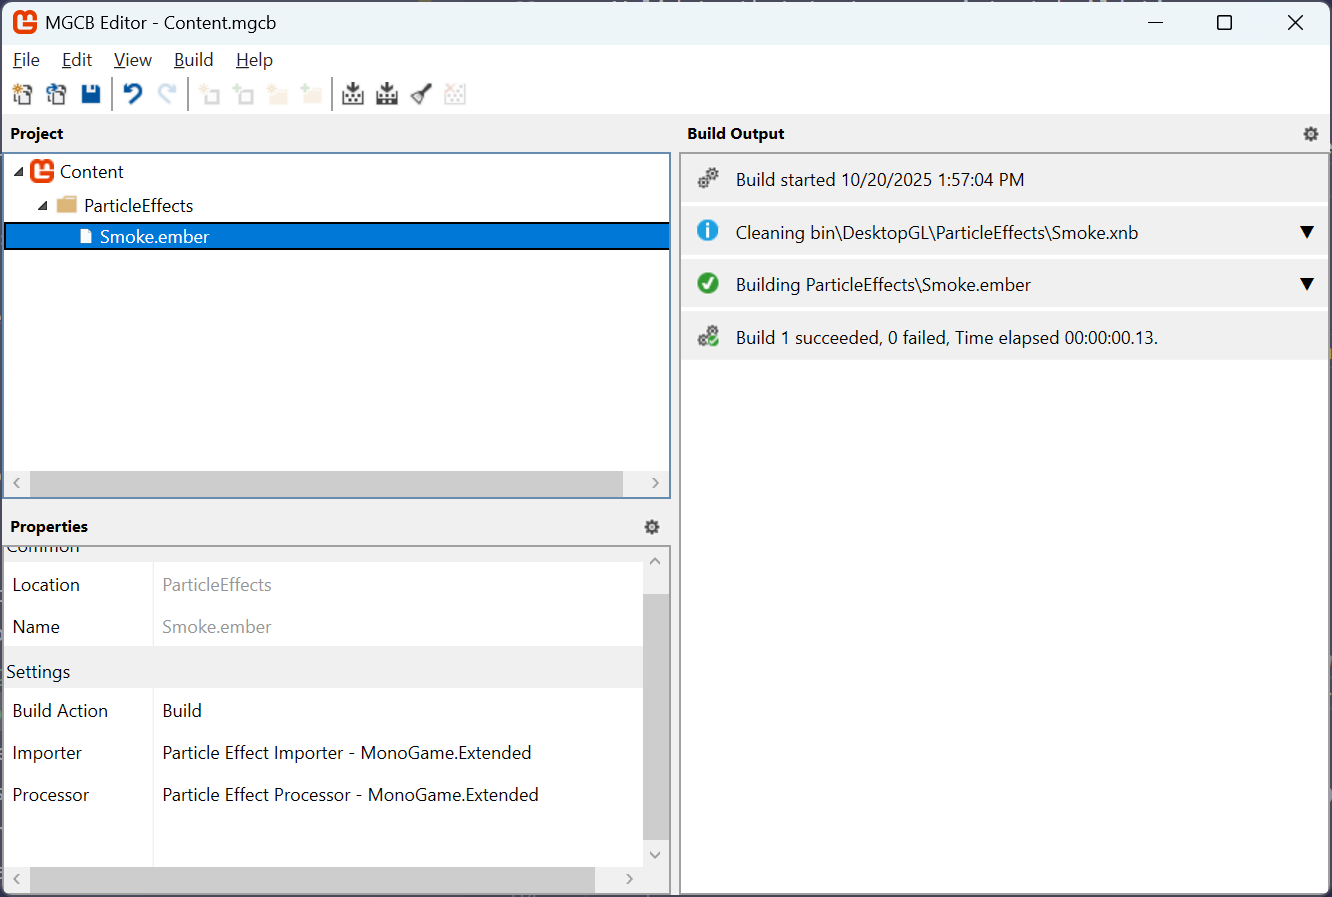
Step 1: Add the Ember File to Your Content Project
- Open your
Content.mgcbfile in the MGCB Editor - Add your
.emberfile to the content project:- Click Edit > Add > Existing Item
- Navigate to your
.emberfile - Select the file and click Open
The MGCB Editor will automatically:
- Detect the
.emberfile extension - Assign the "Particle Effect Importer - MonoGame.Extended" importer
- Assign the "Particle Effect Processor - MonoGame.Extended" processor
Step 2: Ensure Texture Files Are Available
Place any texture files referenced by your particle effect in the same directory as the .ember file or ensure they're already in your content project.
The Content Pipeline will automatically:
- Track texture dependencies
- Validate that textures exist at build time
- Rebuild the
.emberfile if any texture changes
The texture files must be in the same directory at the .ember file. They do not have to be added to the content project. However, if you wish to add them to the content project, ensure that they are in the same directory in the content project as the .ember file. If a referenced texture is missing, you will get a build error. This is intentional to catch missing assets before runtime.
Step 3: Load the Particle Effect in Your Game
Load the particle effect using the standard ContentManager.Load<T> method:
public class Game1 : Game
{
    private ParticleEffect _particleEffect;

    protected override void LoadContent()
    {
        // Load the particle effect (no file extension needed)
        _particleEffect = Content.Load<ParticleEffect>("ParticleEffects/Smoke");

        // Position the effect
        _particleEffect.Position = new Vector2(400, 300);

        base.LoadContent();
    }

    protected override void Update(GameTime gameTime)
    {
        _particleEffect.Update(gameTime);
        base.Update(gameTime);
    }

    protected override void Draw(GameTime gameTime)
    {
        GraphicsDevice.Clear(Color.Black);

        _spriteBatch.Begin();
        _spriteBatch.Draw(_particleEffect);
        _spriteBatch.End();

        base.Draw(gameTime);
    }
}
Content Pipeline Benefits
Using the Content Pipeline provides several advantages:
Build-Time Validation
Build Error: Cannot find texture 'particle_texture.png'
referenced by 'FireEffect.ember'
Errors are caught during build, not at runtime.
Automatic Dependency Tracking
- Modifying a texture automatically triggers a rebuild of dependent
.emberfiles - No need to manually track which effects use which textures
Optimized Loading
- Textures are loaded through the Content Pipeline's texture processor
- Benefits from texture compression and platform-specific optimizations
Method 2: Direct File Loading
Direct file loading is useful for rapid iteration during development or when you need to load effects dynamically at runtime.
Step 1: Prepare Your Files
Organize your files so that textures are either:
- In the same directory as the
.emberfile, or - Already loaded through the Content Pipeline
Step 2: Load Using ParticleEffectSerializer
Use the ParticleEffectSerializer class to load the effect directly:
public class Game1 : Game
{
    private ParticleEffect _particleEffect;

    protected override void LoadContent()
    {
        // Load the particle effect directly from file
        string effectPath = "Content/ParticleEffects/Smoke.ember";

        _particleEffect = ParticleEffectSerializer.Deserialize(effectPath, Content);

        // Position the effect
        _particleEffect.Position = new Vector2(400, 300);

        base.LoadContent();
    }

    protected override void Update(GameTime gameTime)
    {
        _particleEffect.Update(gameTime);
        base.Update(gameTime);
    }

    protected override void Draw(GameTime gameTime)
    {
        GraphicsDevice.Clear(Color.Black);

        _spriteBatch.Begin();
        _spriteBatch.Draw(_particleEffect);
        _spriteBatch.End();

        base.Draw(gameTime);
    }
}
Loading from a Stream
You can also load from a stream for more advanced scenarios:
// Load using MonoGame's TitleContainer
using Stream stream = TitleContainer.OpenStream("Content/ParticleEffects/Smoke.ember");
ParticleEffect effect = ParticleEffectSerializer.Deserialize(stream, Content);
Direct Loading Considerations
When using direct file loading, consider the following:
- The reader tries to load textures through the
ContentManagerfirst - Falls back to loading texture files directly using
Texture2D.FromFile() - Texture paths in the
.emberfile are relative to the.emberfile's location
Working with Loaded Effects
Once loaded (via either method), particle effects work identically to effects created in code.
Basic Usage
// Update the effect every frame
protected override void Update(GameTime gameTime)
{
    _particleEffect.Update(gameTime);
}

// Draw the effect
protected override void Draw(GameTime gameTime)
{
    _spriteBatch.Begin();
    _spriteBatch.Draw(_particleEffect);
    _spriteBatch.End();
}
Positioning and Transforming
// Move the effect
_particleEffect.Position = playerPosition;

// Rotate the effect (in radians)
_particleEffect.Rotation = MathHelper.ToRadians(45);

// Scale the effect
_particleEffect.Scale = new Vector2(2.0f, 2.0f);
Manual Triggering
If the effect has AutoTrigger set to false:
// Trigger all emitters at the effect's current position
_particleEffect.Trigger();

// Trigger at a specific position
_particleEffect.Trigger(explosionPosition);

// Trigger along a line
LineSegment line = new LineSegment(startPos, endPos);
_particleEffect.Trigger(line, layerDepth: 0.5f);
Accessing Emitters
You can access and modify individual emitters after loading:
// Access emitters by index
ParticleEmitter firstEmitter = _particleEffect.Emitters[0];

// Find emitters by name
ParticleEmitter fireEmitter = _particleEffect.Emitters
    .FirstOrDefault(e => e.Name == "Fire Emitter");

// Modify emitter properties at runtime
if (fireEmitter != null)
{
    fireEmitter.Parameters.Speed = new ParticleFloatParameter(50.0f, 100.0f);
}
Texture Dependencies
Understanding how texture dependencies work is important for both loading methods.
How Textures Are Stored in Ember Files
Ember files store texture references in the TextureRegion element:
<TextureRegion Name="particle_texture.png" Bounds="0 0 32 32" />
The Name attribute contains the texture filename, which can be:
- Just a filename:
particle_texture.png - A relative path:
../Textures/particle_texture.png - An asset name (when using Content Pipeline):
Textures/ParticleTexture
Texture Loading Behavior
Content Pipeline Method:
- Textures must exist at build time
- Texture paths are resolved relative to the
.emberfile location - Missing textures cause build failures
Direct Loading Method:
- First attempts to load via
ContentManager.Load<Texture2D>(name) - If that fails, attempts to load directly from file using texture path relative to
.emberfile - If both fail, the emitter will have no texture (particles won't render)
Troubleshooting
Build Error: Cannot Find Texture
Problem: Content Pipeline build fails with texture not found error.
Solution:
- Ensure texture files are in the same directory as the
.emberfile - Check that texture filenames in the
.emberfile match actual filenames (case-sensitive on some platforms) - Verify texture files are included in your content project
Runtime Error: Texture Loading Failed
Problem: Direct loading succeeds but particles don't render.
Solution:
- Check console output for texture loading warnings
- Verify texture paths are relative to the
.emberfile location - Ensure textures are either in the correct relative path or loaded through Content Pipeline
Particles Not Appearing
Problem: Effect loads but no particles appear.
Solution:
- Verify the effect is being updated:
_particleEffect.Update(gameTime) - Check if
AutoTriggerisfalse- you may need to callTrigger()manually - Ensure effect position is within viewport bounds
- Verify emitter has a valid texture assigned
- Check emitter capacity isn't exhausted
Additional Resources
For more information about creating particle effects: